From
J:
Flashback: three months ago
Location: the master bathroom
Scene: Our intrepid hero,
J, is showering. Suddenly, a loud
CRACK!
J quickly realizes that the shower pan has split. Springing into action, he turns off the water and inspects the situation. Total failure!
J wonders if he needs to lose a few pounds, or is something else responsible for his dilemma?
Now that you understand the scene, let me describe what the situation was. The contractors who refurbed the bathroom before we bought our house, as it turns out, did the bare minimum on every aspect of the project. As I deconstructed the shower, I found more...and more...and more things that I had to correct to rebuild a shower properly. First things first: demo.
 |
| Hello, cracked pan. |
 |
| Goodbye, cracked pan. |
|
|
With the pan gone, it was pretty clear why there was a problem: the slab was never leveled and the pan wasn't set correctly into place. It didn't make full contact with the slab, the drain pipe was too long, and it was basically bent into place, putting stress around the area where it cracked. It was destined to fail. Pan removed, I started taking off the tile. This was messy. I used a sledgehammer. I had fun.
A wasn't very enamored of this step.
 |
| Off to the dump with the old shower. Once again, I like having an SUV. |
The contractor fails just keep coming. Fails now include: drywall behind the tile with no moisture barrier, really messy plumbing work, failure to replace some rotted wood, and improper (that is, absent) strapping of the pipes. I mean...seriously, guys. This is getting embarrassing for you.
 |
| Demo complete, revealing the construction gore that the contractors left behind. | | |
Time to start rebuilding. Cement board on the two boring walls:
 |
| Pro tip: use an impact driver to set the screws, it's the perfect tool for the job. |
And now, plumbing. This was a big upgrade - we decided that we wanted three shower heads (regular, rain, and a hand shower), which meant a diverter valve needed to be added. The way everything worked out, the diverter and thermostatic (on/off and temp control) valves needed to be side-by-side, with niches above and below, because the niches wouldn't fit on the other walls. Not ideal, but I do what I must.
First, set the position of the valves. They have to be a certain distance from the finished face of the wall, with about 1/4" tolerance. To complicate things (of course!), the left-hand stud wasn't straight and level with the others, so I had to use my longer level as a proxy for the front surface and shim the stud up later. This also meant that the 2x4 stringer I mounted the valves on was at an angle (front-back) relative to the studs. I measured this many, many times. And then double-checked my calculations for the finished thickness. And then measured some more. Then I mounted the stringer in with some angle brackets.
 |
| You can never have too many clamps. |
I work with pipe at my job quite a bit, though I don't solder, I tend to swage. And it's also stainless, not copper. But I was pretty comfortable with this step, and it gave me an excuse to buy a propane torch, which I have always wanted. Measure, cut, measure, measure, cut, etc. And remember your order of assembly!
 |
| Offset isosceles triangle between the thermostatic valve and diverter to make the cuts easier. Better living through math. |
Soldered in the hand shower mount and the intervalve connections...
...and now the rain and main shower head connections (diverted around the niches, of course)...
 |
| I might have set my flame blanket on fire soldering the connections into the diverter valve. |
...and finally, I redid the hot and cold supplies for the bathrooms. The old arrangement necked down from 3/4" to 1/2" pipe in some places that I didn't like, so I redid it. All told, it was something like 86 solder joints. Took me about 50 hours of work (give or take) to rough fit the pipe and solder it. And, unlike the contractors, I actually strapped my pipe into place.
 |
| The joints close to the slab were nerve wracking. Screw those up, and the job becomes a lot more difficult very quickly. |
I pressure tested for about a week, then it was time for the niches, which also required some reframing work. First to correct the bow of the left-hand center stud, and second to give the studs a 16" spacing so the niches would actually mount - they were about 18-19" originally.
 | | | | |
| Top-bottom: A's niche, J's niche, Allie's niche. | | |
|
|
The next step was to level the slab. This was terrifying. My
makeshift dam around the drain opening in the slab didn't hold, the
leveling compound starting pooling in there, and I had a sense of
despair. I plugged the opening with paper towels and prayer. I only had a
little bit of chiseling to do afterwards to clean it up.
Time for some more cement board work, making cutouts for the niches and valves.
A declared me a "cement board wizard" at this point.
Cement board finished, I installed the shower arms and put up the waterproofing membrane. I selected a shower system from Schluter called Kerdi that has rave reviews online. It's a fleece-like sheet that you cut to size and attach to the cement board using unmodified thinset mortar. This step was messy. I did not enjoy it.
Now for the floor pan and drain. This is where the Schluter system shines. The floor is a presloped expanded polystyrene foam piece that you cut to fit, and the drain system integrates perfectly into it for a leakproof assembly. Cut the floor size, set the height of the drain, glue the drain in, and attach the floor to the slab and the drain to the floor using thinset mortar (ummodified, of course).
Then the curb is installed, again by cutting to size and using thinset.
Unmodified thinset, or so help me, Schluter will be
very upset with you. They are very clear on this. Finally, add the Kerdi membrane to the floor and curb, making sure to hate doing it the entire time.
 |
| The bathroom was practically glowing. So orange. |
At this point, it kinda looks like a shower. Wait for everything to dry, at least two weeks because you're kinda intimidated by the next step: tiling.
Crap, this part actually has to look good.
Because you have woodworking skills, build a little platform for the bottom row of tile to sit on so everything stays nice and level. Normally, you would just nail a board into the wall for support, but, well...waterproofing membrane with nail holes in it isn't very waterproof, now is it? Silly you, thinking you'd get away with just nailing a board into the wall.
We went with a brick pattern, both for visual interest and because it gives a little bit of play to adjust each row to accommodate walls that, despite your best efforts two months ago, aren't perfectly level. Non-contiguous vertical grout lines are your friend, they let you shift things around without it becoming obvious. The tile is a stone-look ceramic from Home Depot that matches the floor tile well.
 |
| Note the platform. Scrap wood + 10 minutes = platform; I like having tools. |
 |
| Second wall complete (minus bullnose). |
 |
| Halfway up the third wall, going around those niches. |
I was the tile cutter, mortar man, and installer;
A was the official pattern selector and measurer. We set the pattern so that it would wrap around the shower, centered around the back wall, and flow around the niches cleanly. As for the niches...
I was ON FIRE with my tiling game at this point. The niches have bevel-cut bullnose around the interior sides and mosaic in the back. The niche bottoms are sloped outwards for drainage.
The floor was mosaic. The last part of the Schluter drain is mortared into place, and I cut the floor mosaic to flow around it smoothly. It turned out well. Allie approves.
 |
| Aw yiss. |
The last tiling steps were the bullnose up the front sides and the curb!
All told, I used 8 (estimated) batches of mortar over a few weeks (with some work travel taking up time in there) to complete the tiling. Between the membrane and the tile, I used almost 125 lbs of dry mortar and 12 or so batches of mortar (and a corresponding number of buckets, at $2.50 per it was not worth my time to clean them out between batches.) The end result is, in my opinion, a pretty good looking shower.
 |
| I floated the idea of stopping here, because the whole thing is waterproof and the grout and caulk are just for show. A was not a fan of the notion. |
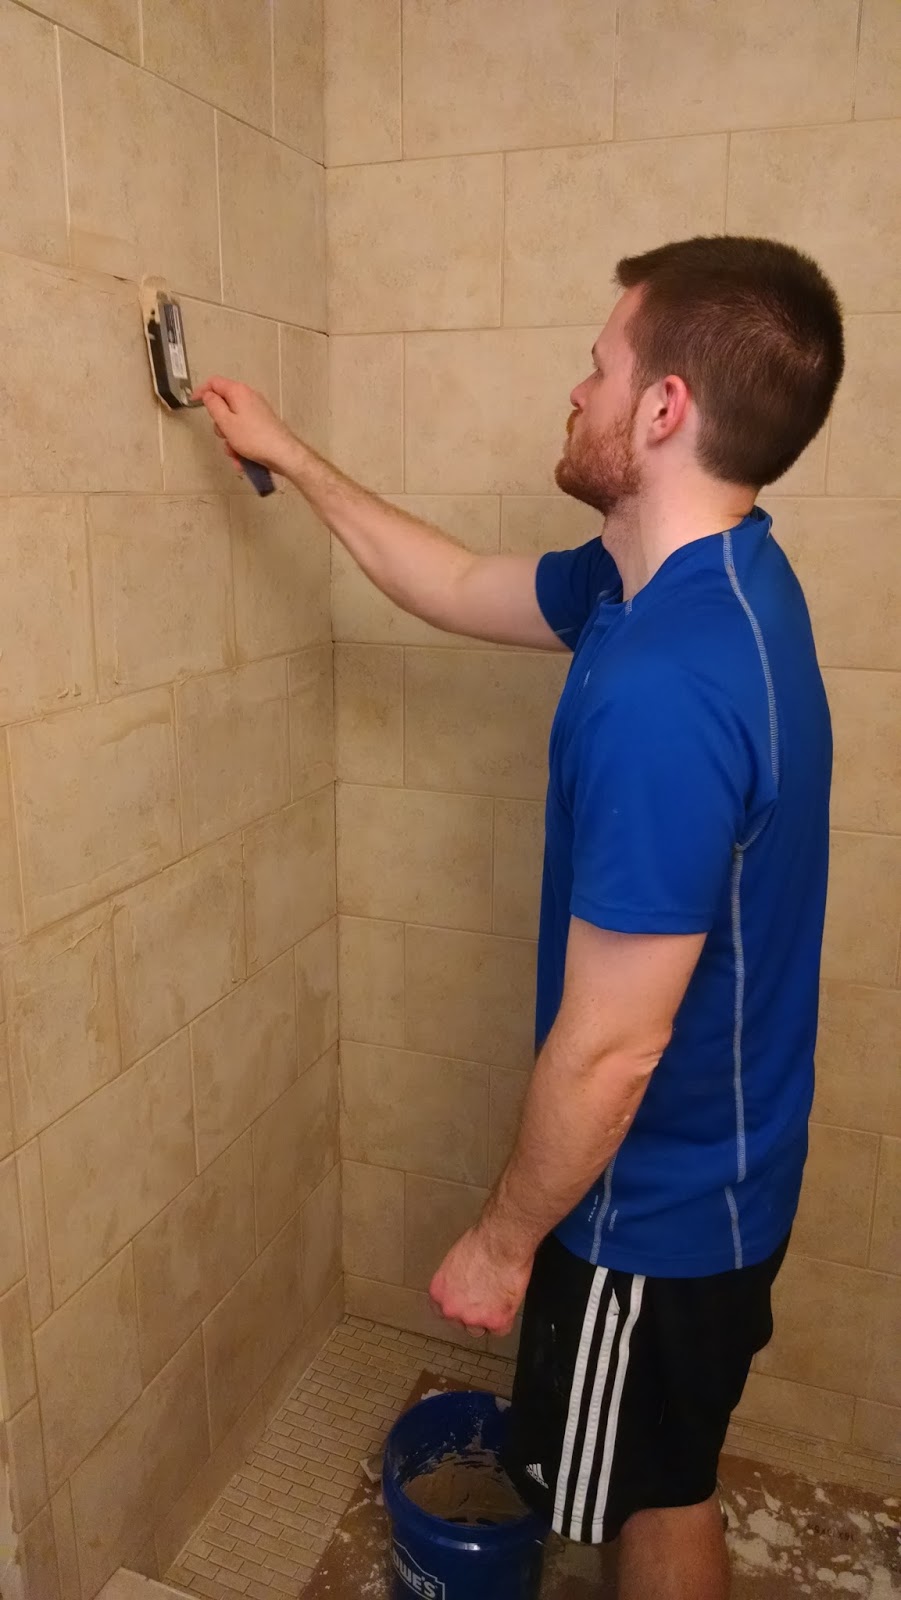
I prepped for grout by cleaning out any mortar squeeze-out in the joints with a grout saw (a big problem in the niches) and wiping everything down. Grouting took a day. Unsanded grout on the walls, niches, and curb, sanded along the bottom.
A was on hand to supply me with rinsed out sponges and clean water while I handled installing the grout and wiping it down.
 |
| So happy with the niches. They look great. |
Wait 48 hours, then seal the grout. Then, I get to the part I've been anxiously awaiting for three months: putting the valves in. I had to guess at the finished depth of the shower when I mounted the valves, so now it was time to see how good I was. Verdict: perfect. Caulk the corners and add the fixtures and, all of sudden it's a completed shower!
Project stats: around 100 square feet of tile (and Kerdi membrane), including the floor and curb. 125 pounds of mortar (dry). 10 pounds of grout (dry). 86 solder joints. 19 linear feet of copper pipe. 15 buckets. 55 separate transactions (purchases and returns) for project supplies.
Other benefits: redesigned plumbing pays big dividends, we no longer have water hammer issues in the guest bath or lose pressure when somebody flushes a toilet while you're showering.
Total cost: way less than paying somebody to do it, that's for sure. It probably would have cost $8-10k to have a contractor build this. In exchange for a few months of weekends (maybe 200 hours of labor) I saved many, many thousands of dollars - I'd make that trade again in a heartbeat!
Many thanks to
A for her support throughout, Allie for being politely curious but never in the way, the workers at The Tile Shop who showed me how to mix mortar, various Youtube personalities for some excellent instructional videos, Schluter for their detailed how-to guides for the Kerdi system, our handyman extraordinaire who double-checked my plumbing work while he was installing a new hot water heater, our friends
B and
D who let me borrow their tile saw, and my new neighbor who came through with a Dremel I could borrow when the collet on mine stripped out while I was cutting the diverter valve opening in the tile. Couldn't have done it without all of you!